Monday, April 9, 2012

Flower Garden Quilt

See all the little circles?  Quilting the flowers was the best part of making this quilt.  I made them all free-hand.  Some turned out pretty, some a bit wonky and there's one that's downright homely, but altogether they look really great.  I used my water-soluble fabric marker and drew quick, little, five or six petaled flowers in the center of each square.  I quilted over the lines using the darning foot on my sewing machine.  It was so fun!


I couldn't stop with the flowers.  I quilted some teeny-tiny little ones where the white lines cross.


I've started to label everything that I do.  I think it adds a nice touch.  Of course, I had to stitch this little tag onto the quilt in the car on the way to the baby shower.  Just about all of my projects are finished up quickly and last minute on the car ride to where the gift will be given.

I made another little puppy dog.  He turned out pretty cute.  I revised the my pattern a bit from the last one and avoided the dreaded saggy bum effect.  With just a few more tweaks I'll have a really good pattern that I'll post so you all can give it a try.  He's a lovable little guy.  He fits quite nicely under the arm of a loving little girl or boy.


This is the family who I made the baby quilt for.  They are expecting a baby in about three weeks.  The father is one of Bill's good friends from when he was a kid.  The mother and daughter are from China.  They were married a couple of years ago in China and just moved to America.  We gave the puppy to the little girl.  She tied a balloon to him and carted him around with her everywhere.  See him on the table by the cake?

Sunday, April 8, 2012

Refinished Round Table and Chairs

One bright sunny day I was messing around on Craigslist when I found these four, sad, broken, and unloved chairs for free.  I thought, "I will love thee back to life."  Well, on the next block over, after I had my chairs safely in tow, I saw this poor horribly abused table on the curb waiting for the trash truck to come pick it up.  The table top was so water damaged that the top was entirely wavy.  I was not sure if I could save it.  But what could I do?  It just had to come home with me.


The first order of business was to repair the damage to the chairs and strip the many layers of paint and stain from the table.  I like to use Jasco Green Strip it's biodegradable and it works great.  This is a picture of the table top striped, saved and sanded. When working with strippers, stains, paints and polys don't forget to use safety gear.  I always use a ventilator mask, gloves and safety glasses.

I had a big learning experience with this table.  The first stain and poly I used was Minwax.  NEVER EVER EVER USE MINWAX!!!  The product has wax in it that will block your stain from darkening.  So, after the first application it really did not darken as much as I would have liked so I talked to the guy at Home Depot and his advice was to use a polyshade (aka 'the devil' - the stain is isolated in the poly).  I had so many air bubbles that I ended up stripping the table and going to a paint and stain store where I found the mother land of people who really knew what they were doing.  The stain was amazing.  The guy actually took me to the back room and custom made me a stain.  The entire cost of the stain, that he checked on several pieces of wood so I had exactly what I wanted, was only $5 and it is awesome stuff to work with.

My table top stained. Its even more beautiful in person!

Advice from Super Smart Paint Guy:
If you want a really dark stain, wet the table and wipe it off one hour before you stain it.  This will raise the grain a little which will help the stain have more to grab on to.

When applying poly, mix just a dab of paint thinner in for the first layer.  (Do not overdo it!  A little really goes a very long way.  One teaspoon to a cup, no more, less if you like).  This will help the poly to go deeper and make your furniture more durable.  Do not do this on the next 2 layers though!

Do not over sand your furniture.  It makes it harder for the stain to catch.  Super Smart Paint Guy compared it to trying to stain a glass surface.

The other huge learning experience I had was with the paint.  I have Home Depot Guy to thank for this one again.  He had me buy a flat paint and put a polycrylic over it.  Super Smart Paint Guy said there was really no need, just get a quality paint with sateen sheen to gloss and you're fine.   And if you really want to go crazy you can get outdoor stuff but there is really no need.

For some reason the light kept reflecting funny so in this picture you can't see the beautiful grain of the wood.  Just look at the picture above for that. :) And yes, the chairs are not done just yet....perhaps in a few days.  Then I will add a picture of my completed project in better light.

QUINOA--(KEEN-wah)


Andrew Scrivani for The New York Times


Quinoa is a relative newcomer to the American pantry. The tiny, ancient Peruvian seed, which has a mild, nutty flavor, is related to leafy green vegetables and is often used like a grain. Quinoa is as versatile as rice but it has a protein content that is superior to that of most grains, because it contains all the essential amino acids. In particular, quinoa is high in lysine, an amino acid important for tissue growth and repair. It’s also a good source of manganese, magnesium, phosphorus and copper, and it has a high iron content.
Quinoa is very easy to cook. It’s important to rinse the seeds well, because they are naturally coated with a bitter substance that protects them against birds and other predators. Most packaged quinoa has already been cleaned, but it doesn’t hurt to soak and rinse it just in case. Quinoa cooks in 15 minutes, and it’s easy to tell when it’s done because the seeds display a little white thread that curls around them.
Let's have some fun this week!

Saturday, April 7, 2012

Kelly's Confection


 These yummy treats are actually bowel aids first created by John Christopher, a Master Herbalist and founder of the School of Natural Healing, where I currently am enrolled. I gave them a little twist to appeal to my tastes and that of my children's and to my pantry's contents. All these ingredients can be found at your local health food store. Here's the recipe!


1/2 ounce slippery elm bark
1/2 ounce licorice root
1 ounce ground flaxseed
2 c. dried fruit ( I used dates and apples)
2 t. cocoa powder
1/2 t. cinnamon
1/4 t. ginger
2 T. molasses
2 T. honey

1/2 c. unsweetened coconut flakes


Add all the ingredients minus the honey, molasses and coconut flakes. Grind these up into a coarse and crumble powder in your food processor. If you don't have one, try your blender. The mixture should not be wet. It should be loose and the dried fruit should be into small bits. After, add the molasses and honey only. If you are using your blender, put everything in a bowl and stir by hand. If not, place the honey and molasses in the food processor and mix until it is equally distributed and it is all clumped together. Spoon a tablespoon size piece in your hands and roll into a ball. Drop this ball into the 1/2 of coconut flakes and cover. Then remove and flatten. Whalla! They are ready. They have a chocolate, gingersnap, black licorice flavor and are very dense. It is a tasty and fun way to help move and heal our bowels.
You may alter the ingredients as you wish. You can use any dried fruits you choose and remove the chocolate, ginger, etc. I will explain the significance of a few ingredients though.
Slippery Elm Bark- It is very soothing to tissue, removes inflammation and mucous, draws out impurities and helps strengthen and heal affected areas rapidly.
Licorice Root- Very healing to the stomach and digestive tract, soothing, lubricating, and nourishing the intestinal tract, mild laxative, helps in healing ulcers, blood cleanser and detoxifier.
Flaxseed-Soothes mucous membranes in the respiratory, digestive, and urinary tracts; also for renal and vesical irritation. It is a laxative, helping to expel gravel and stones in the glands.
Ginger - Great for nausea and improves digestion by preventing fermentation and the formation of gas.
There are plenty of over the counter things to take for the bowels, but, none that truly help to cleanse and feed the body so that it can return to it's healthy state. Here we are working on cleaning and nourishing the bowels that will help work on the problem rather than just the symptom.
You may wonder how much to eat. Well, we all have different plumbing, so I would say eat about 4-6 confections, then drink a few glasses of water  a little while after. See how things are in about 8 hours or so. If you don't see any affect, eat more.  They will help to soften, not liquidate you. They are foods for the body. However, you may want to back off if you are looser than you want. These treats are delicious too remember, not just a medicine. You don't even half to tell people they are medicinal. Enjoy!


"Pioneer Toilet Paper"

 Well, I'm a week late with this post. This theme belongs with last weeks.  I really had it done, I've just not had the time to post. So, pardon my tardiness.
While I was working in my front herb/flower garden last week, I saw my little mullein plant that had seeded last fall and grown into the rocks. All my children know not to pick it because they know it's not a weed and cause mom said to leave it alone! :) I looked at that precious plant growing in the rocks and thought how amazing it was that something so soft, that has such a calming influence medicinally in the body could live in such rough circumstances. So, I decided to transplant it. I carefully pushed the rocks away and dug deep to find all the roots. It was amazing how long and strong these roots were! It's living conditions reminds me of  something one of the speakers from the General Conference of The Church of Jesus Christ of Latter Day Saints said this last week referring to their child hood. Their childhood was not "traditional", but it allowed unique growth and experiences to happen in their lives and prepare them better for their futures. I am so grateful for the experiences in my life and for my mullein plant to remind me that you can live among the rocks, develop in ways that you would not have otherwise, and still be used for those very purposes you were intended for, despite your conditions. Awesome!
When I was a kid, my neighbors and cousins told me this plant was used by the pioneers as toilet paper. Well,  I have since learned it's amazing other abilities other than a soft wipe out in the wilderness.  Mullein is a wonderful medicinal biennial plant. It grows short and low to the ground in a small spread bush it's first year then has a tall stalk on it with little bright yellow flowers the next year. It is mistaken for lamb's ear sometimes because they are similar in their leaf shape, color, and softness. However,  lamb's ear  feels more like velvet and mullein is more like felt. Mullein's latin name is verbascum. It is an herb that specifically works on the glandular system and is known for being a soothing herb to swollen areas. It also helps pull mucous from the system. I have found it everywhere here in Utah. In the mountains, cracks in the roads, my aun'ts backyard. The plant I have now I got from Aunt Judy's back yard. She had killed a bunch because it was overtaking her yard. She called and offered me some, hooray! It's purposes are many. I have used mullein in my life for mastitis chopped up as a poultice,  ear infections (extract form) with warm garlic oil, lung congestion (both poultice and tincture form), swollen neck glands(poultice), and stinging nettle stings (poultice). It has helped me out soooooooo much. I have seen clear evidence of it's effectiveness in my life and of my kids. Hooooooray for Pioneer Toilet Paper! Precious Mullein.  Do you think this would be categorized as paper for the paper topic from last week?  I just wanted to share some things I had learned :) 

Headbands are Circles!!!

These are one of the most important parts of my workout attire.  I must have a headband to keep the hair out of my face and off my neck and sweat out of my eyes!
Here's how you do it: Cut swimsuit fabric (must be very stretchy poly) about 5'' x 20'' and then sew the two short ends together.
Then fold the two edges in to the center.
And then fold together so it looks like this.
And then sew it together with a couple of straight lines. Keep the edges raw - poly doesn't fray!
Be careful, it may become an addiction! (This is not all of my headbands)

Friday, April 6, 2012

Circles, Ruffles & Satin

You guessed it--Regional Dance Festival!

I think Lisa and I are working on similar circles and deadlines this week--lots of circles, yards of hemming and more satin than a wedding dress!


Lots of surging...


A few alterations..


A few midnight hours..
But finally, the last fitting, the last hem and ruffle--delivered this afternoon. I am actually sitting at my kitchen table and there's not three sewing machines and stacks of satin on it. How sweet it is!

Tuesday, April 3, 2012


Ta da!! We had so much fun. Lisa, you should get a gold star for this one!

Sunday, April 1, 2012

Little Origami Box


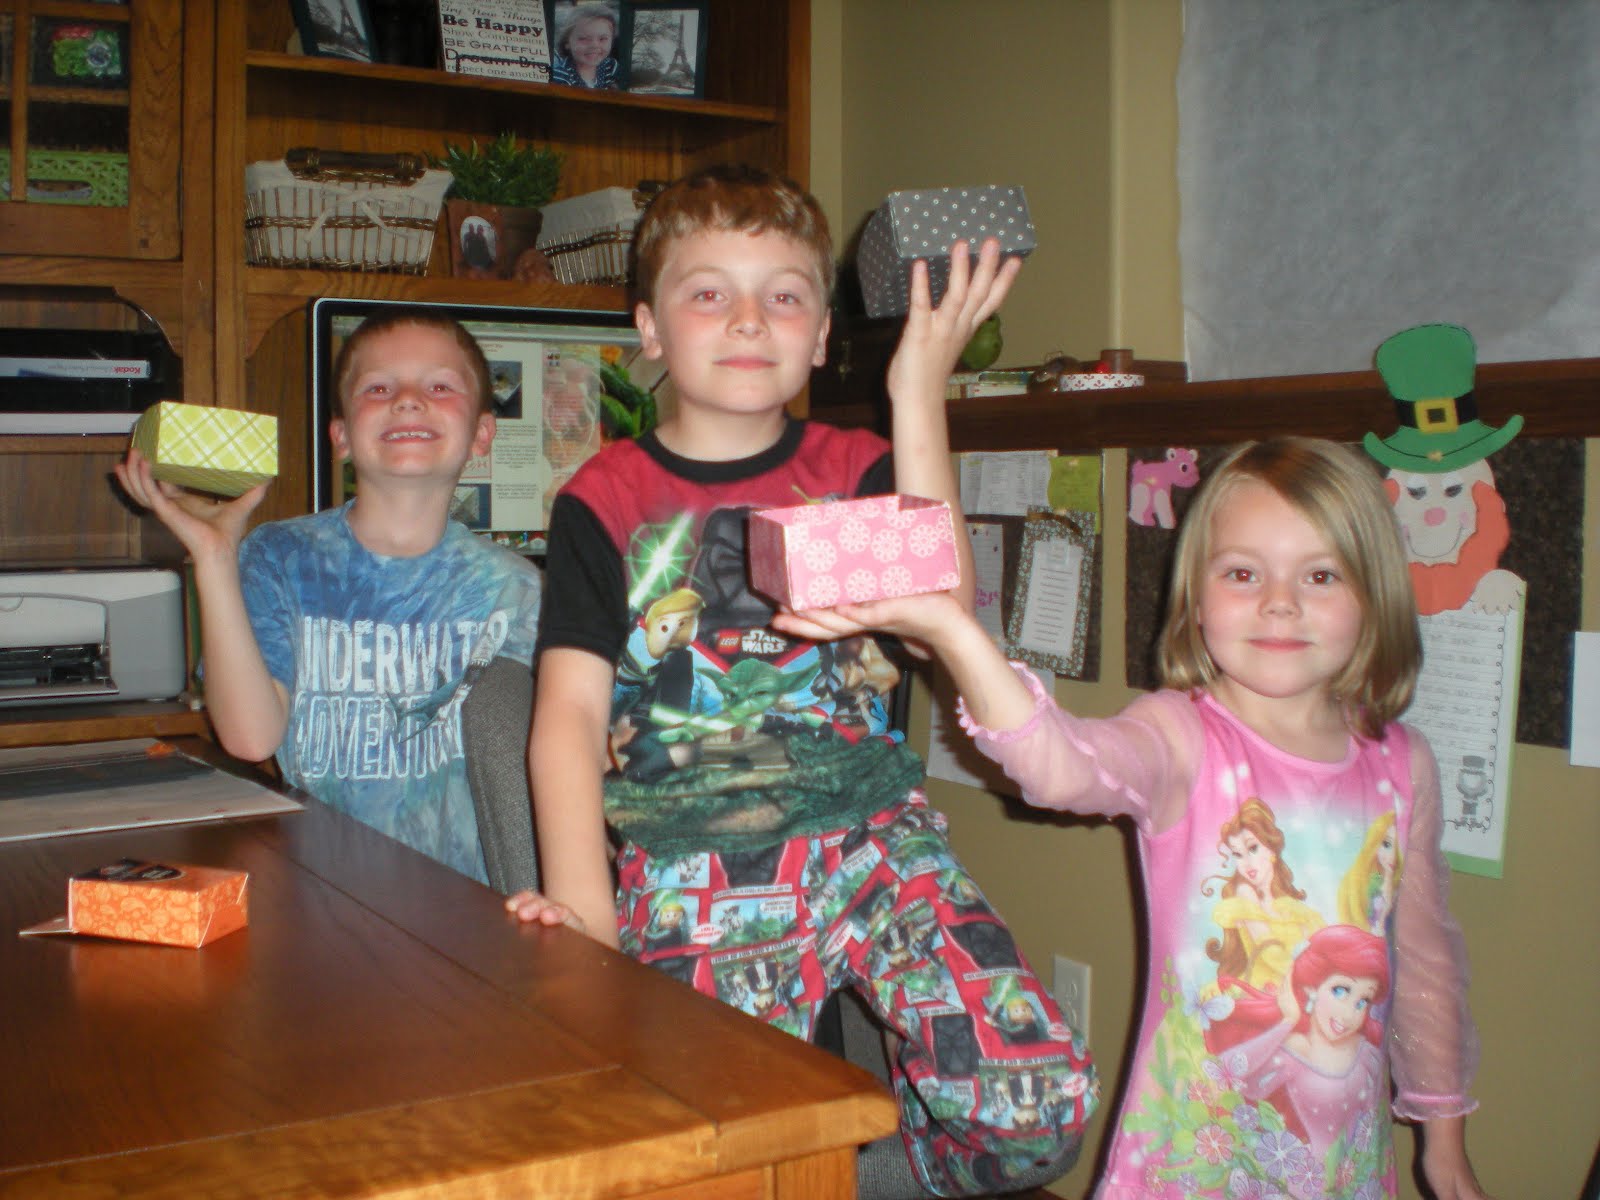
Origami is so fascinating to me.  The papers are beautiful, the process is soothing, the designs are remarkable.  I bought a little pack of origami paper while we were traveling and found instructions for a simple little box.  I made two.  Mabel and Stella love them.  They like to fill them with animal crackers.  

These are the instructions included with the pack of paper.  In this case a picture really is worth a thousand words.  That's part of what I like about origami instructions.  It's all in the diagram.
Begin with a square piece of paper.  Locate center by folding in half and in half again.  Unfold.  Fold corners down to center point of square.

Fold sides in to meet center point of square.
Fold top and bottom in to meet center point of square.
Unfold everything except for two side corners.
Fold sides in to meet center point of square.
Change the direction of the folds near the top corner so the folds point inward and the sides stand up.
Wrap the top corner over the folds.  Repeat the last two steps on the bottom corner.
Ta-da!
If the flaps on the bottom of the box don't stay down, just add a little smear of glue-stick underneath them.  Technically, it's a little inappropriate for true origami, but it keeps out the animal cracker crumbs.

Recycled Magazine Roses

I meant to post these last week for paper but our internet was having problems so here they are now. I found this great website that shows how to make paper roses called www.ellinee.com. I made a template out of card stock and used old magazines to make my roses...btw use a glue gun. Click the link for instructions.

Brie Box


I'm not one to hang onto an empty sour cream container, but those little round brie boxes are just too cute. I had to think of a use.


Here's what you need:
-Brie box (top and bottom)
-cute paper
-any kind of paper glue
-little rock and paint for the handle, or a cute bead or finial of some sort would be great, but this is what I had.
-glue gun
-scissors
-pencil
-exacto blade


Paint your rock and let it dry.


Cut out a circle 1/4 inch bigger around than your lid and another one for your bottom. Then make those little v cuts all around and glue it to your box.


Measure the width of your sides and cut strips, then glue it around.


Take your glue gun and whatever you are using for a knob and glue it on the top.


Then fill it with somthing that has been sitting in an "ordinary" container. And there you go!

Tea Cup "Muffin Tins"

In a moment of necessity I found a good way to make cupcakes without a muffin tin.  When I make cupcakes I rarely need to make more than 18, which is the number of spaces in my muffin tins.  The other night I had to quickly figure out a way to make 27 cupcakes in one go.

Bill had promised a treat to the 27 boys in the dorm if everyone was on time for check-in at 10 pm.  We have one kid who just can't seem to get here on time and so I was probably off the hook for making up a snack for them.  But, surprise!  The less-than-punctual one made it on time.  Since it was 10:00 at night there was not enough time to bake two batches of cupcakes.  So I raided my cupboard for teacups.

I dropped the cupcake papers into the tea cups then filled and baked them with the cups on a cookie sheet.  The only difference is that the bottoms of the cupcakes were a little rounded because of the shape of my cups.  They also took a few minutes longer to bake than the ones in the muffin tins.  They popped out of the tea cups with no problems.  And I think they might have tasted good, because the boys in the dorm wasted no time in devouring them.